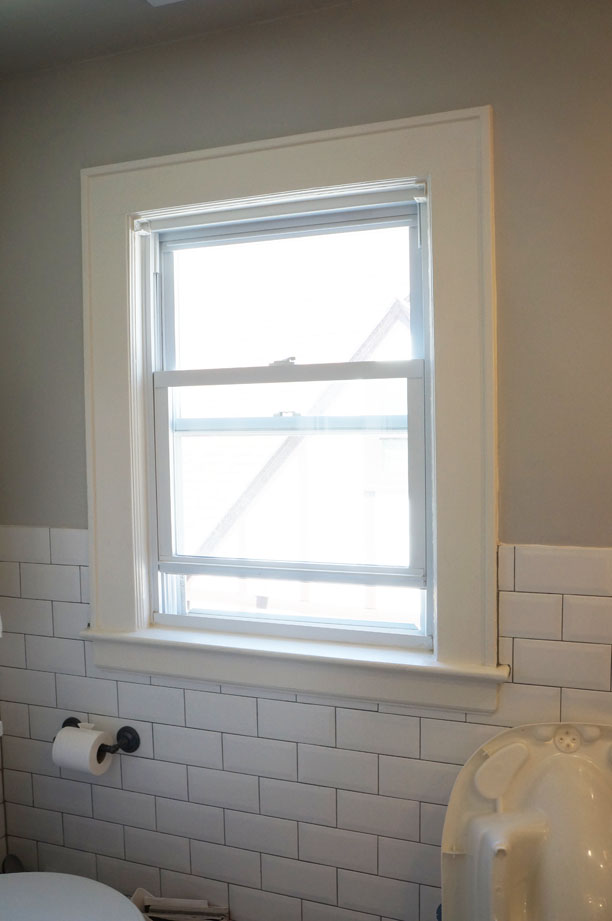
I’d been noodling with the idea of doing a roman shade DIY for a while. I love relaxed roman shades – they’re tailored but not too stuffy and formal and they really work well in rooms where you have furniture under your windows. The thing I hate about romans though is the price. Because they are almost always custom to fit your windows, they can really get pricey – like $300-$500 just for the labor for one shade plus the cost of your fabric. So when I stumbled upon Jenny from Little Green Notebook’s roman shade DIY I figured I’d give it a try. I liked that she had taken her previous mini blind DIY and sort of upgraded it with a tiny bit of extra work. I thought I’d start with the bathroom since there is only one window in there and therefore less of a commitment in case something went wrong. Really, aside from the $5 mini blind, fabric glue, invisible thread and rings, the majority of the cost was the fabric itself – and not much yardage was needed. In general, it worked well and was a success. Here is what the window looked like before.
Here are some progress photos (I won’t get into details since I pretty much followed Jenny’s instructions to a tee).
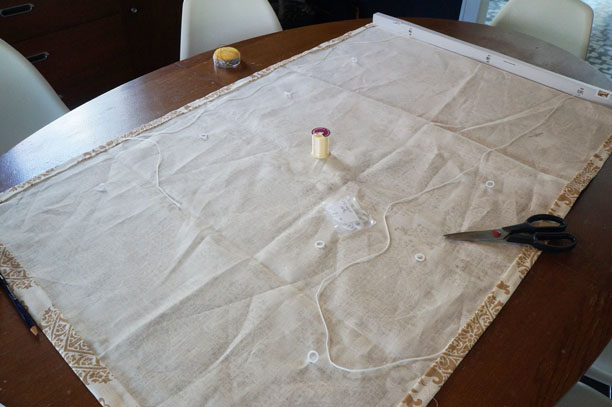
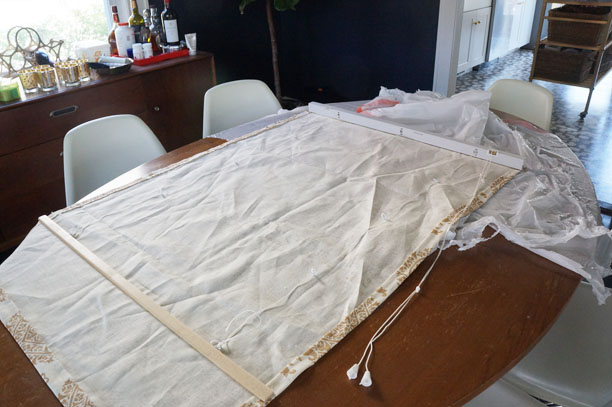
I’d say that the biggest challenge was screwing the brackets into the window frame at an odd angle. My shoulders were burning afterward – especially after doing it twice because I did it wrong the first time! And sewing with invisible thread is definitely more challenging than normal sewing. But it paid off. Here is the after (again, apologies for the lack of staging – more on staging coming up).
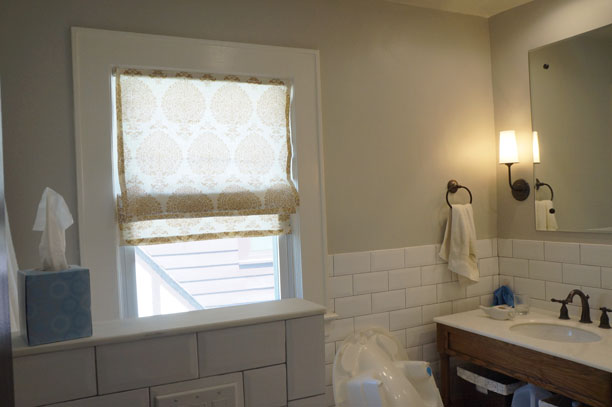

I still need to add one of those little hooks that the cord wraps around and I also want to add some charcoal tape trim so that it ties together with the shower curtain a bit more, but I like it and it definitely does not like I doctored a $5 mini blind to get there.