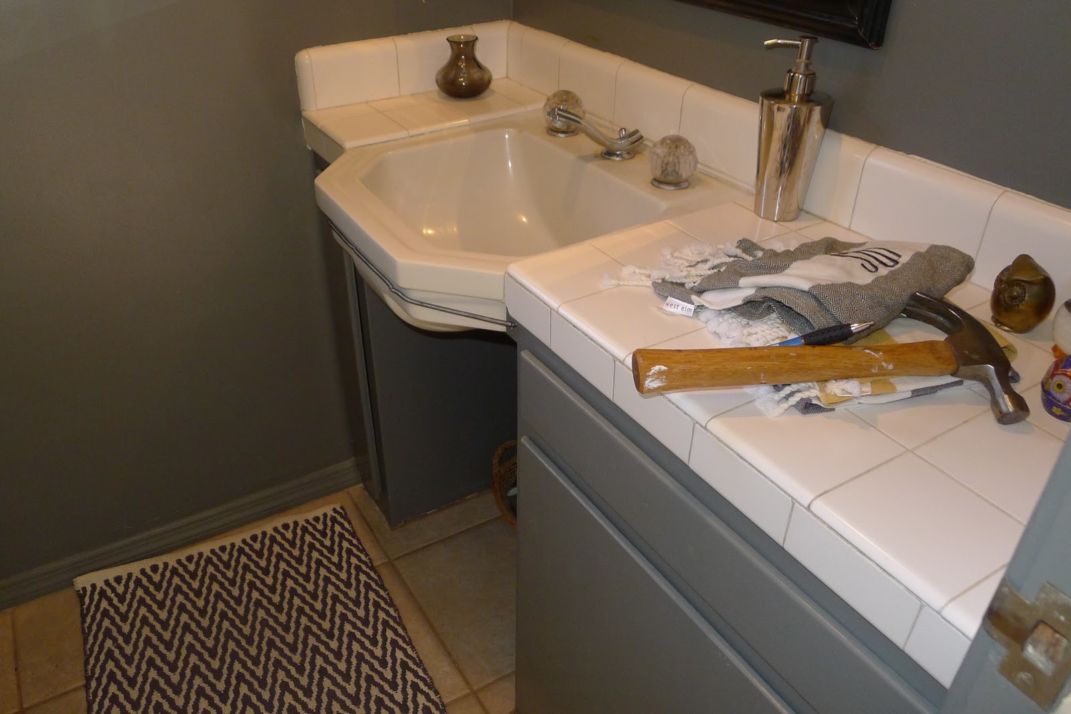
A while back we had the parents-in-law come into town and paint the powder room. Then I installed a new pendant from World Market. And most recently I put up some newly framed art. Slowly but surely, I’ve been trying to make the powder room into a little jewel box.
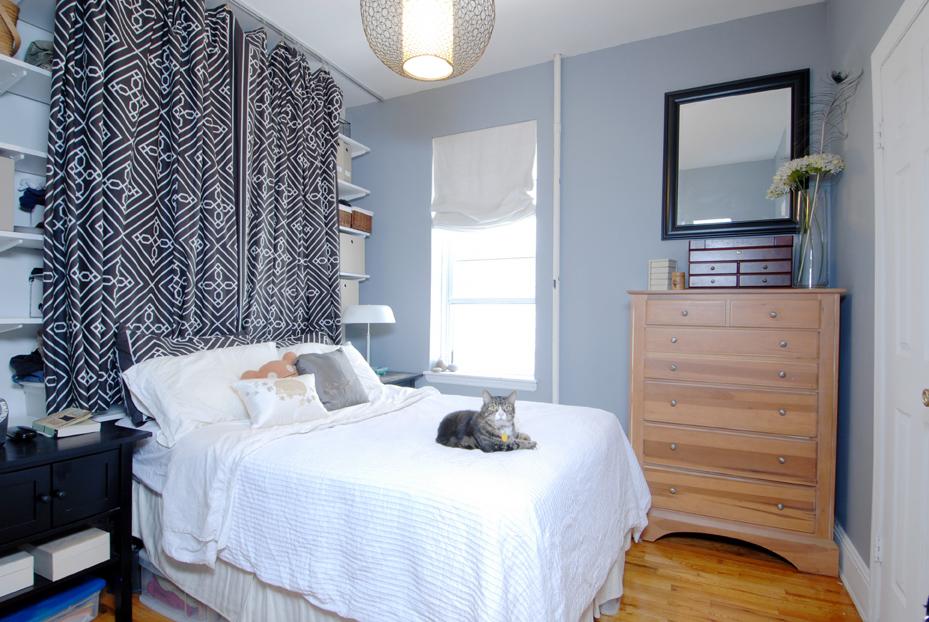
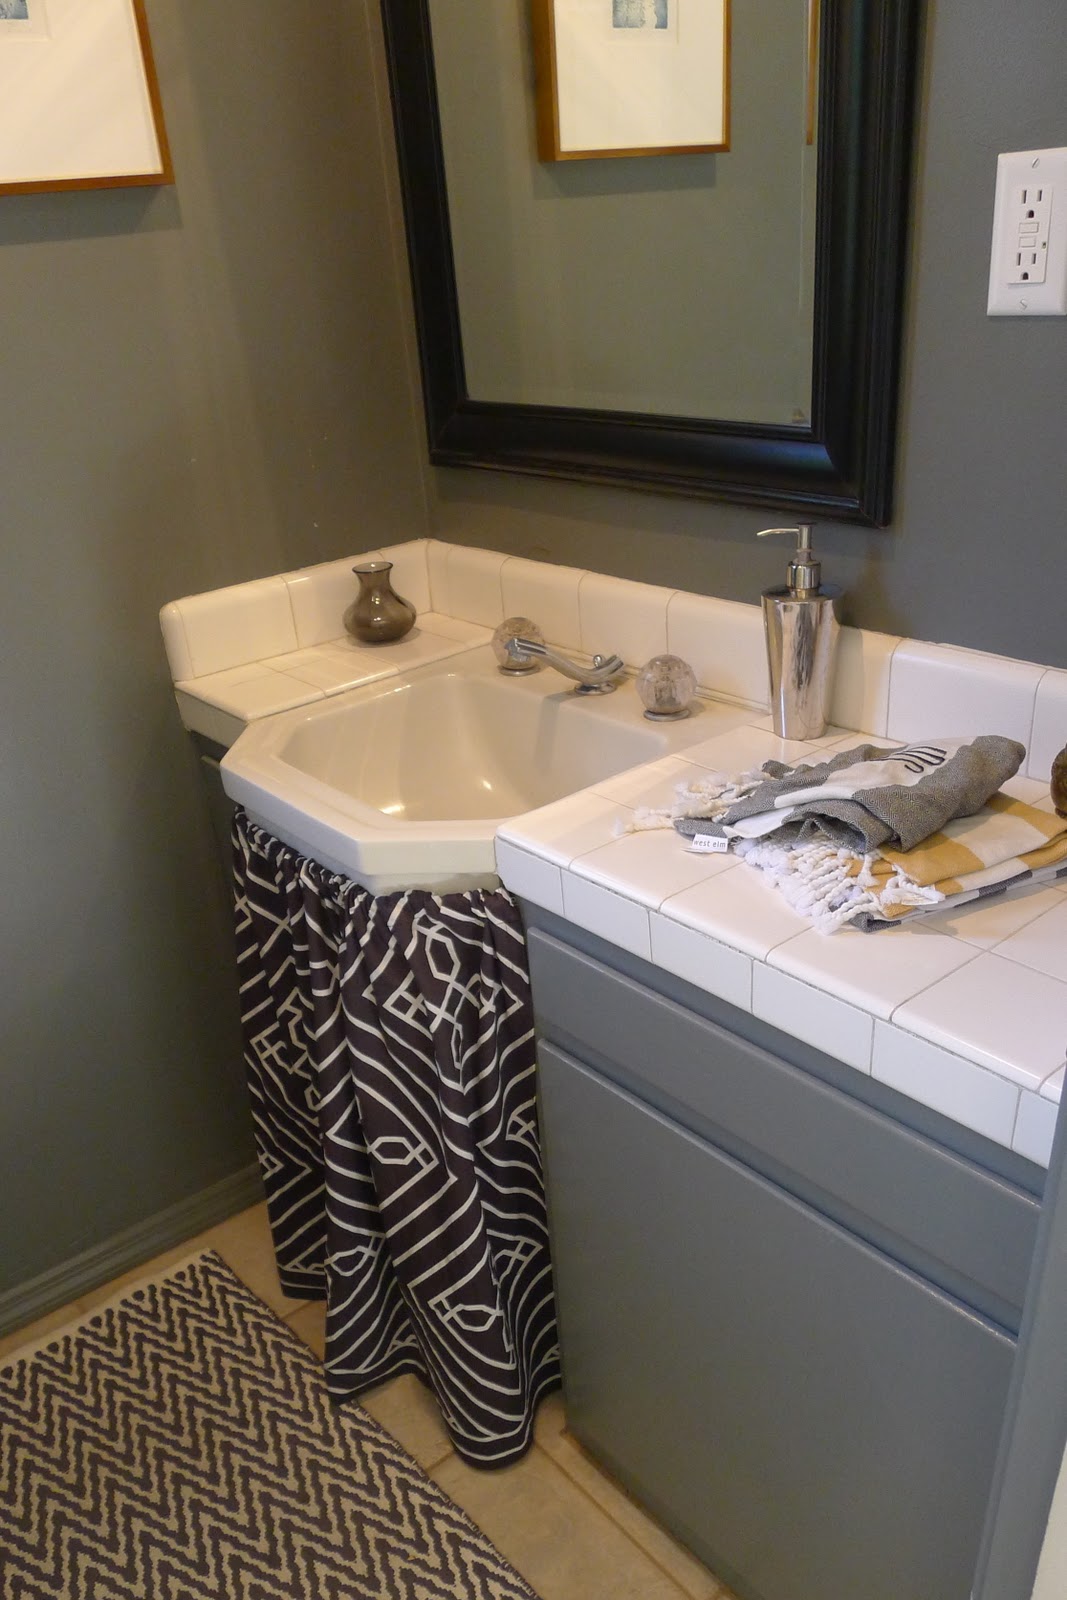
Well, on my first day of maternity leave, I got into uber-productive / nesting mode and finally did what had been noodling in my head for a long while. We had some old Dwell Studio bedding that we’d used as a drapery behind our bed in our Brooklyn co-op.
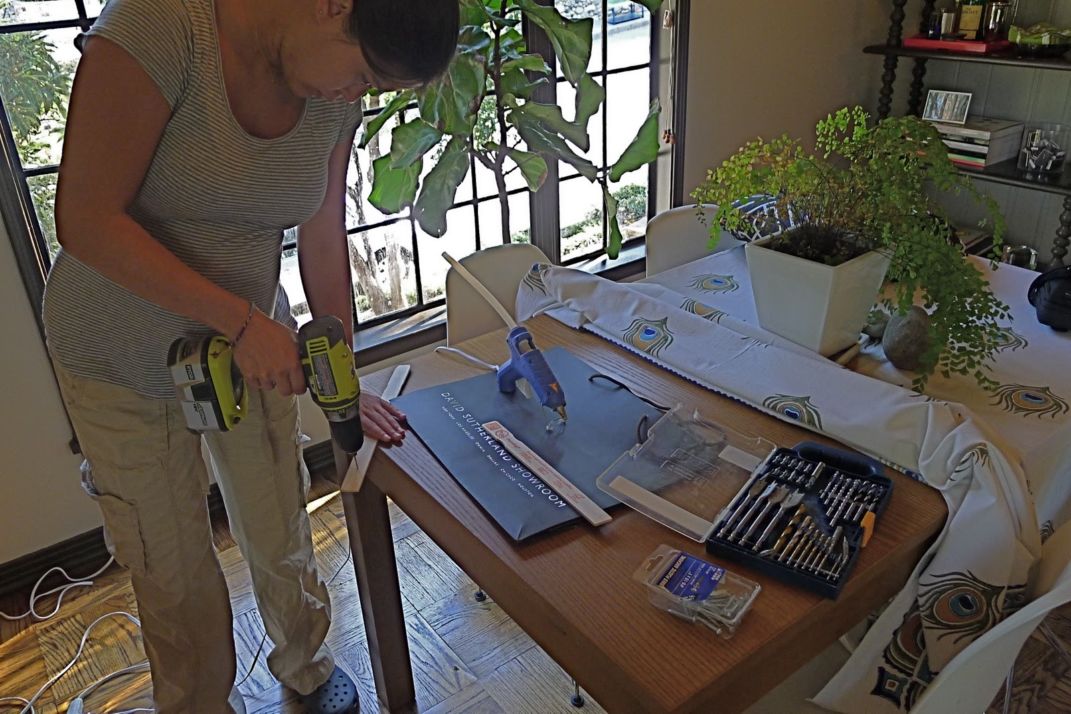
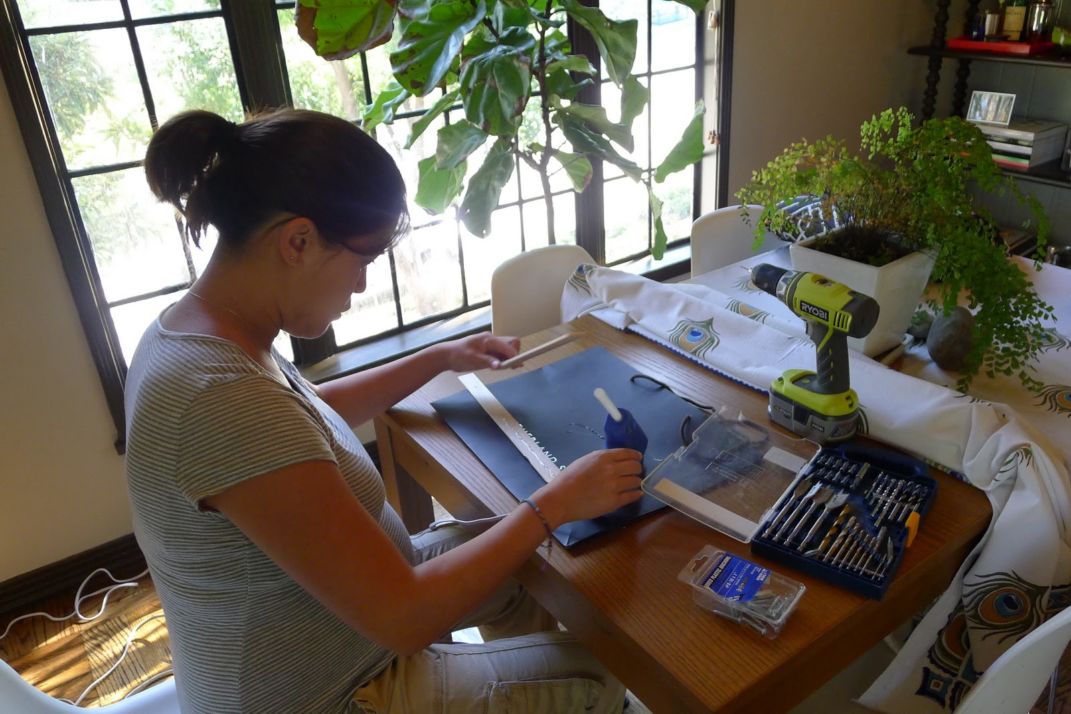
Since the bedding had already been deconstructed and could no longer be used for its original purpose, I reconstructed it into a skirt for the powder room vanity and a shade for the window. First off, for the shade mount, I measured the window interior width. I drilled two pilot holes – one in each paint stirrer and then glued the two paint stirrers together with a hot glue gun.
Next I measured and cut the fabric for the shade and skirt allowing room for hems, a pocket for the tension cable on the skirt and doubling the width on the skirt so that I had 200% fullness.
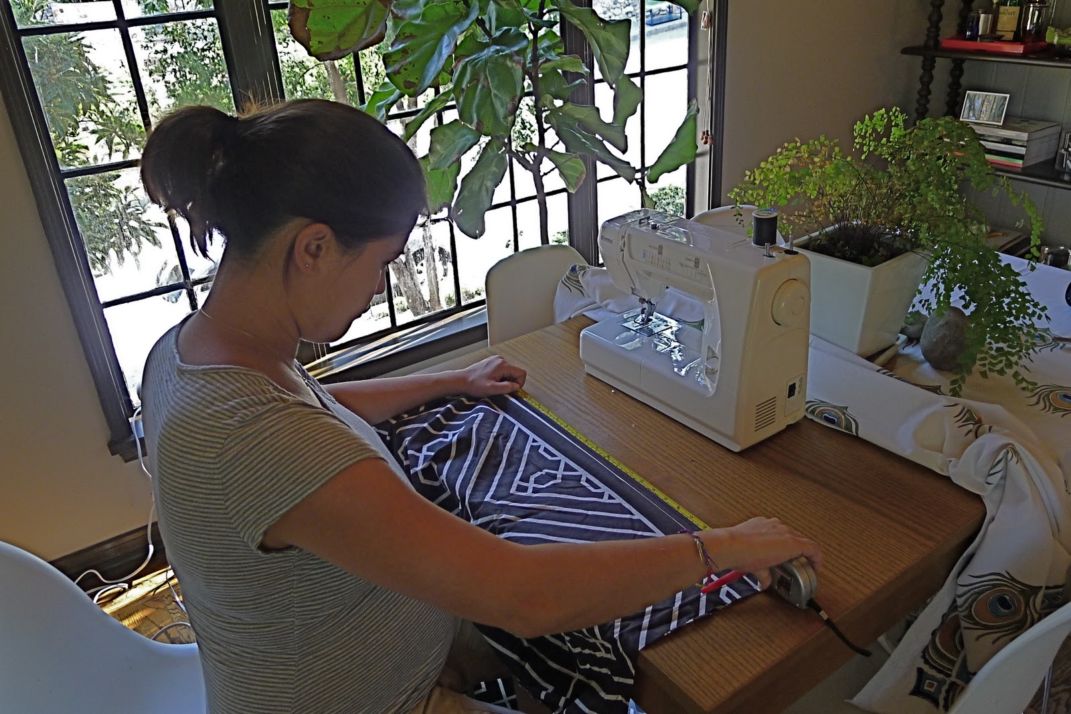
Then I ironed down the hems and started sewing. I’m not super meticulous or exact- nothing special hem wise here, just a simple straight stitch. I was also super excited to find that my sewing machine is still in working order after having loaned it to a friend for an extended period.

Next I hammered a couple of nails into the sides of the vanity on the diagonal to attach a piece of tension wire (spring wire). Luckily this was easy since the previous owners had left a country-cottage looking vanity skirt, so I had both the wire already cut to size and the pilot holes for the nails
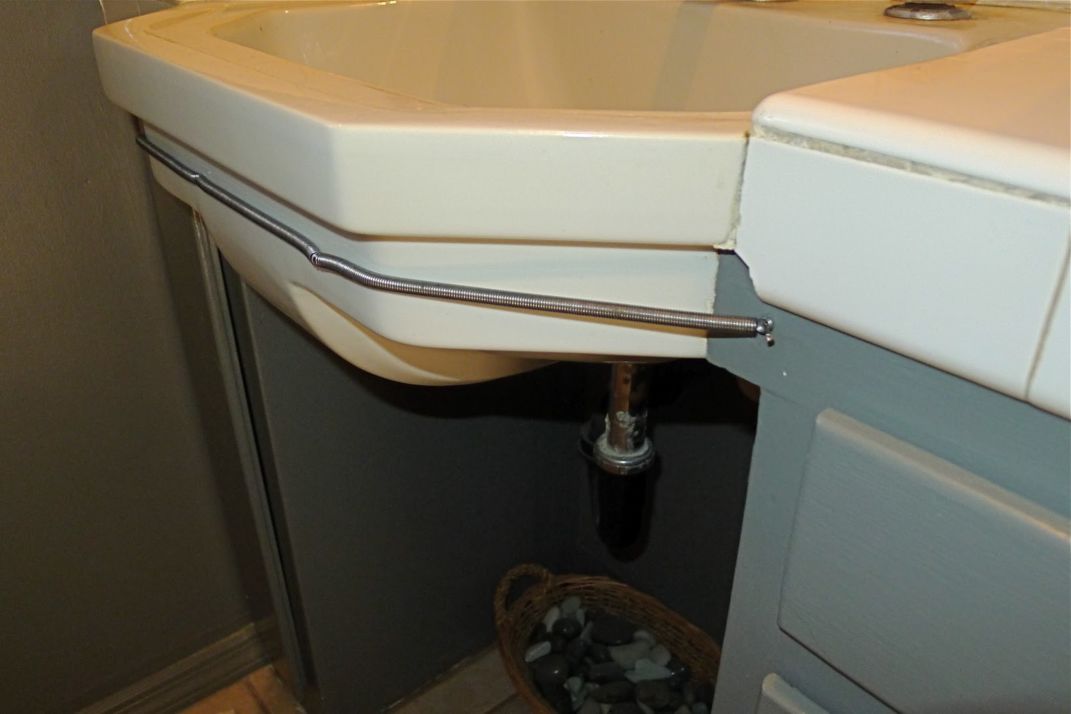
String the wire through the pocket at the top of the skirt and voila! Note, I did consider the borders on the bedding and utilized the original border at the bottom of the skirt and shade
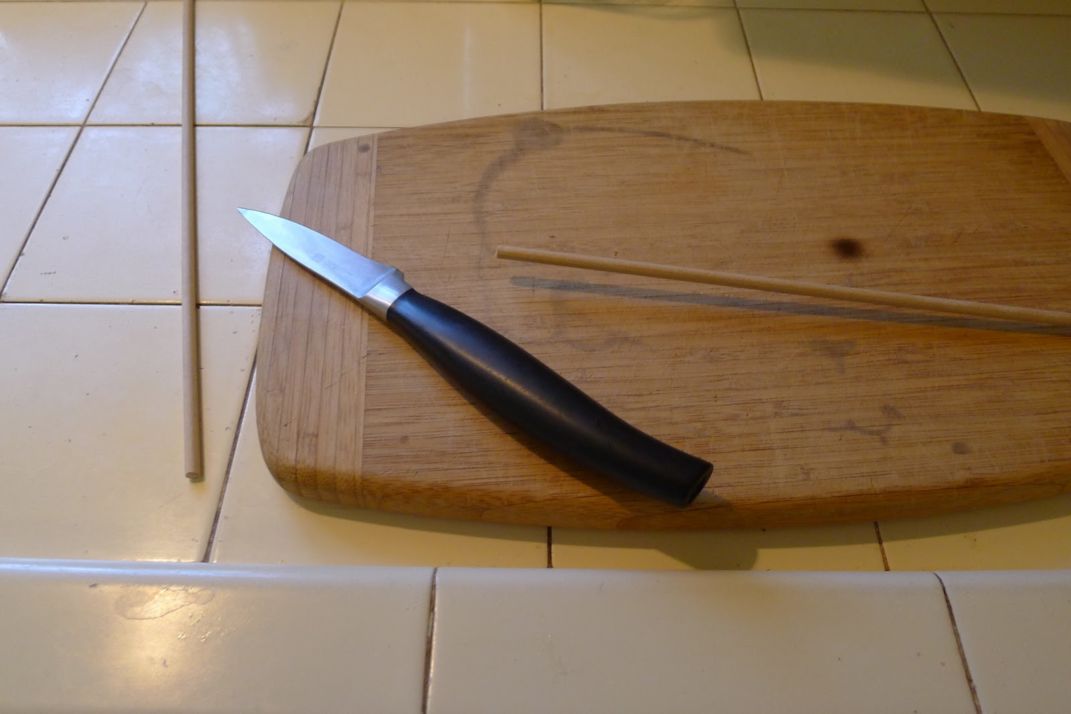
To finish the shade I just hand stitched some pleats in the bottom to give it a roman shade feel (no need for an actual functioning shade in here). I then hot glued the finished shade to the paint stirrers and screwed it into the window frame from the bottom. I wanted a sort of relaxed roman shade look but the weight of the center of the shade pulled the sides in and created some light gaps – not very tailored looking. Luckily I had a random dowel laying around (no idea what I had purchased it for), so I cut it down to size and inserted it into the bottom pleats which gave it a bit more rigidity.

Shhh…. I know, I shouldn’t be cutting this dowel with our nice kitchen knives.
And the final product. Not bad for a morning’s work while 9 months pregnant!
