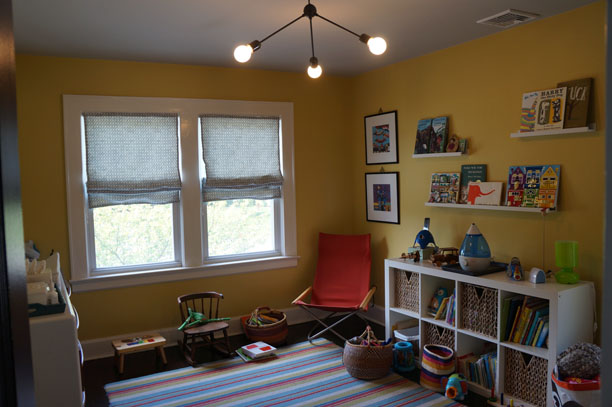
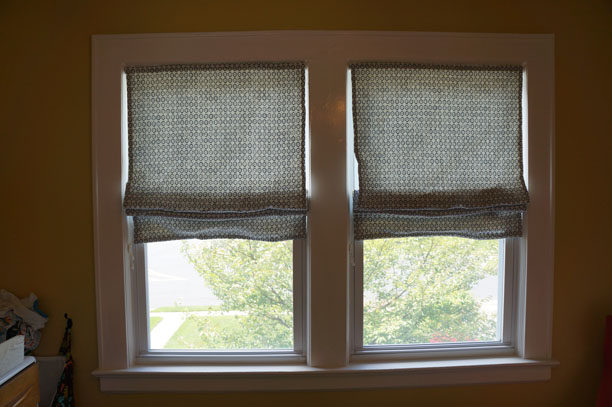
Sorry for the blog silence recently. We went on vacation (more on that later) and am now trying to play catch up. After doing Bryan’s roman shades and realizing that sewing a straight line over multiple layers of fabric is much harder than one thinks, I had to come up with a creative solution to make his shades look less janky. I’d followed Jenny’s DIY from Little Green Notebook on how to make a roman shade. Her instructions show you how to create a shade that has a flap at the bottom that remains stationery (doesn’t fold under) as you pull the shade up. This is a nice look for shades with banding and trim at the bottom. This worked well for our bathroom shade where I plan to add a border later on. I’m not doing that on Bryan’s though so I came up with a quick fix that took advantage of the extra flap at the bottom. I’d made my shades extra long, so using fabritac glue I pulled the bottom flap up and glued it to the dowel / wood piece on the back of the shade. This gives it a more relaxed feel as if the shade is being pulled up from the very bottom hem and also makes the unsightly wavy hemline go away. Hurrah. Here is what it looked like before.
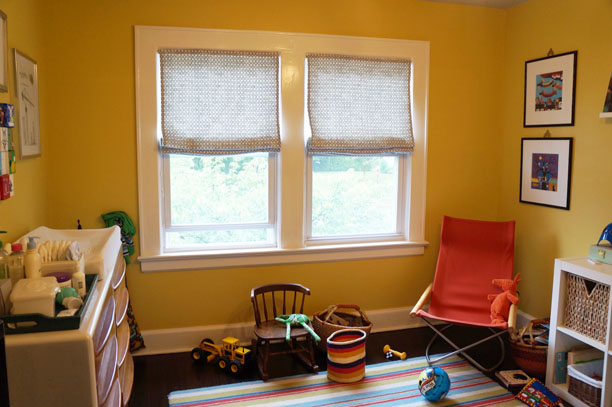
And here is what it looks like after.
Much cleaner and tailored looking right?


