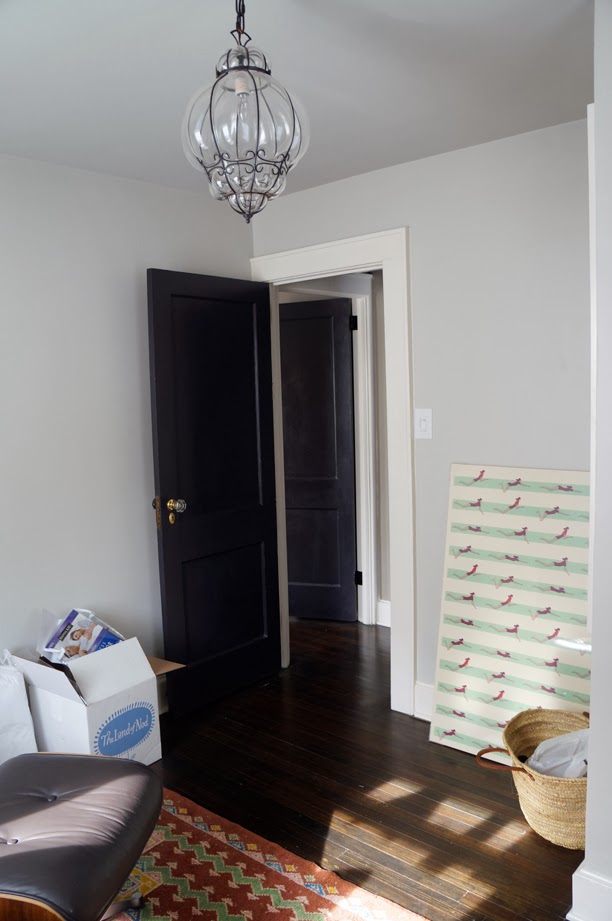
As those of you who follow me on Instagram may know, I have been working on the nursery for a while now. I haven’t really shared much about it on the blog except for my rug selection a while back and the design board I did. Well, things are coming along and I think I really just have a gallery wall to complete and some other small final touches. I hadn’t posted many photos of the nursery in it’s previous life as my office either since it was fairly underwhelming, but just to give you an idea of where we started, this is what it looked like:
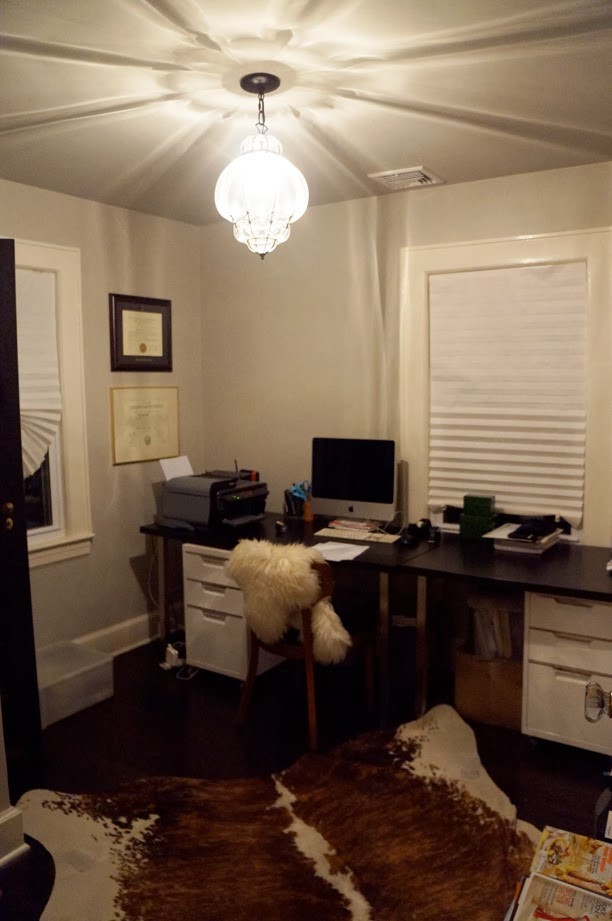
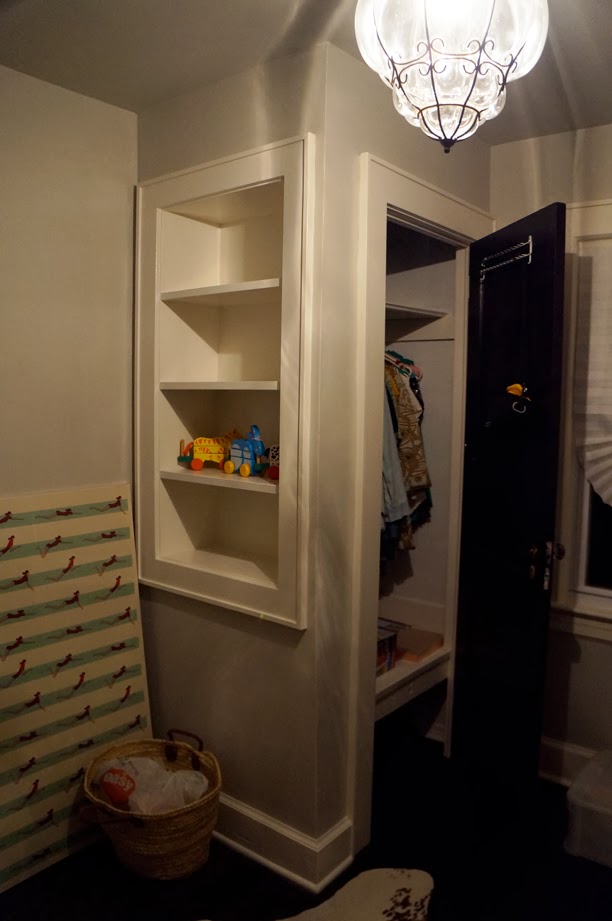
These photos were actually taken after my contractor moved the door to the closet and added the built-in shelving. The shelving will really be useful for all the changing table stuff come baby time.
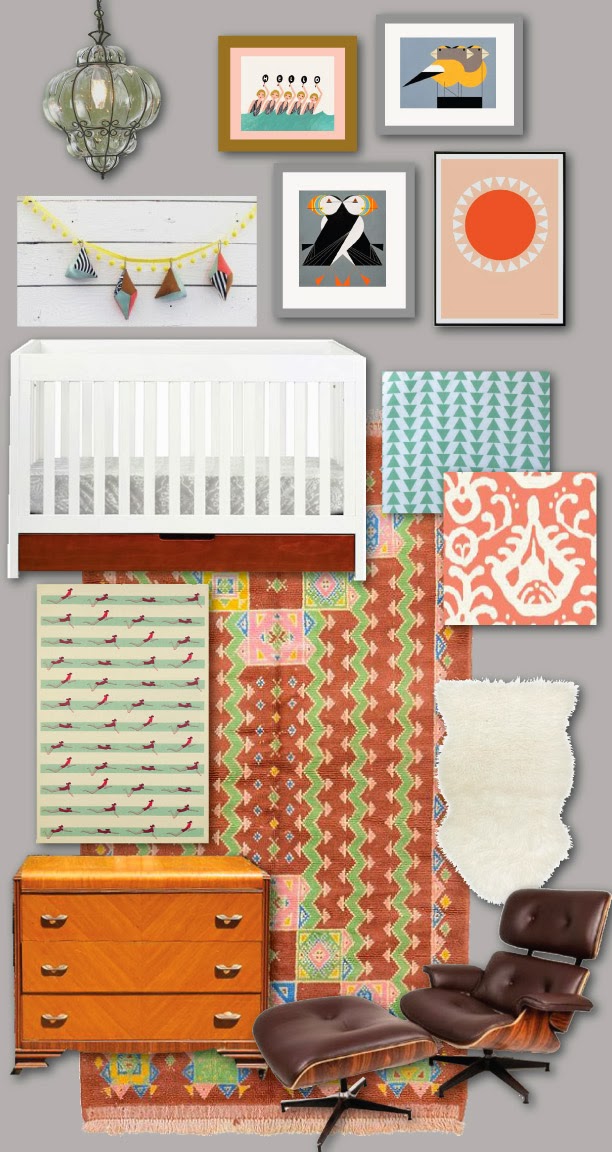
This was the design board for the baby’s room.
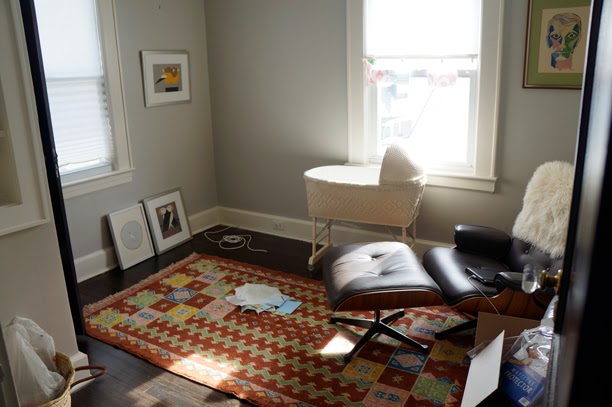
And this is what it looked like a few weeks ago before things had progressed much further (but after the office was removed)
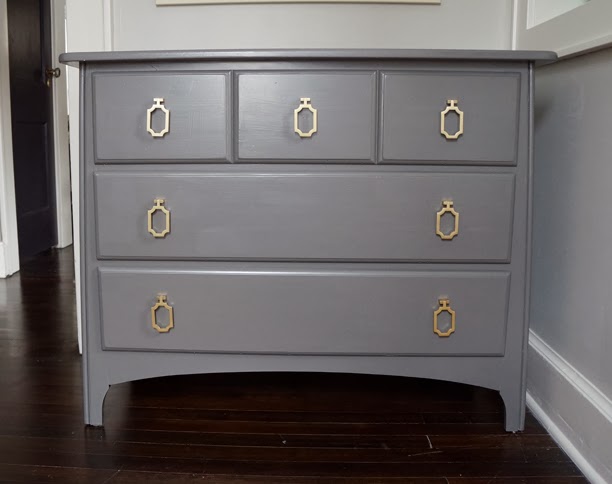
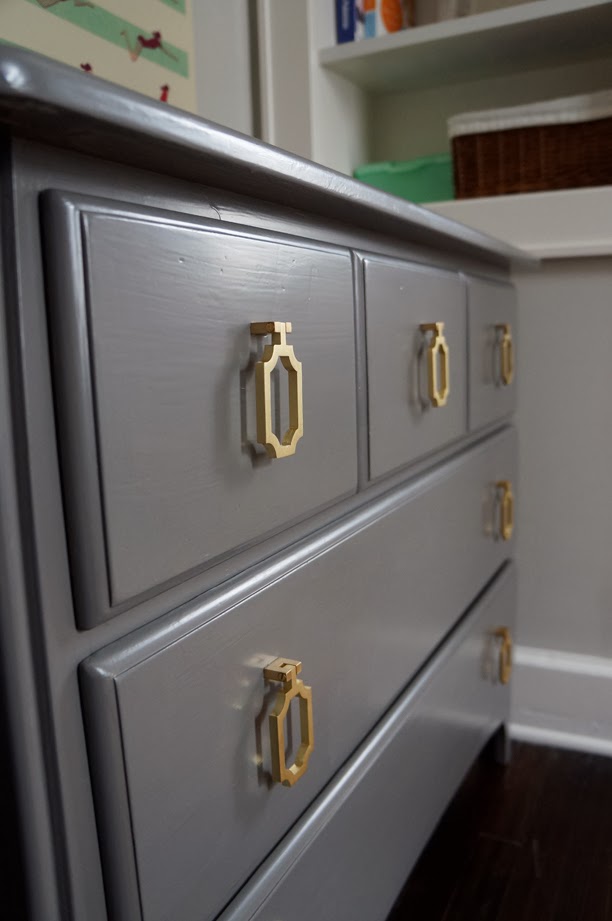
We’ve changed a few things since I did the design board but a lot of it has stayed the same. One of the changes was the dresser. The dresser I had on the design board wasn’t available on Craigslist any more but I was able to find one that fit in the space at a local thrift shop – and let me tell you, finding a dresser that is the right height for changing but also the right width for my space was a challenge! The one we found was sort of a shabby chic white so aside from adding my hardware I knew it needed a coat of paint. Luckily I had some grey left over from my step stool project and it turned out to be the perfect shade (so glad I didn’t have to make another trip to the paint store!). Here are some photos of the process and if you look closely you can get a peek at the new drapes:
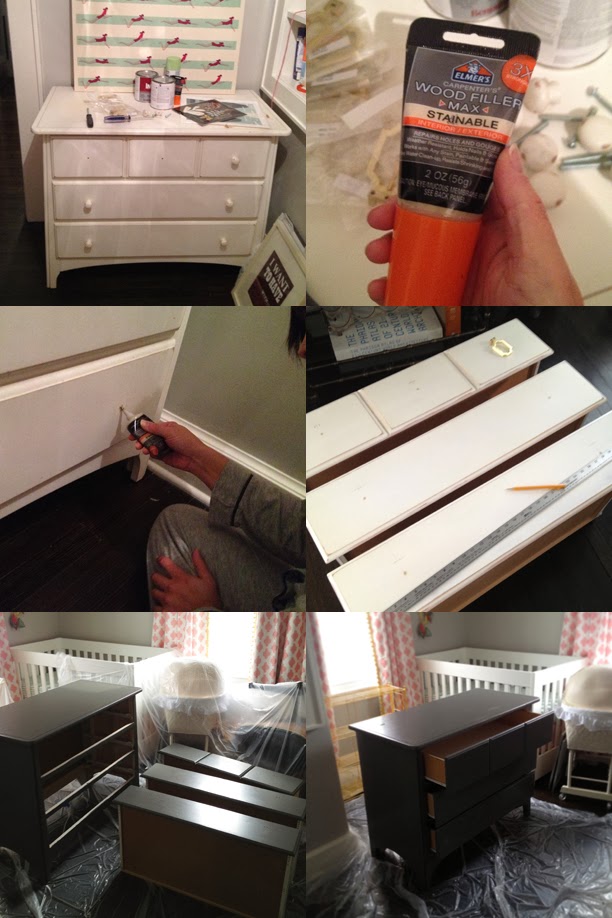
First off, we had our neighbor help Scott move the dresser up to the baby’s room and since we didn’t want to bother him with moving it back down again for painting (and since I am of no help nowadays when it comes to heavy lifting), we ended up doing most of the work in the room itself. Next, I removed the hardware and filled in the holes using wood filler. I selected the stainable kind since I figured it would hold paint better. We covered over all the furniture and floor with plastic and Scott did a light sanding. Then I marked the holes for the hardware and pre-drilled them so that I wouldn’t chip any paint later on (which could happen if I drilled them after painting). Next up I primed everything – or so I thought. Turns out I just painted them with a greyish water-based alkyd I had on hand that I thought was primer (purchased for a future closet project). Whoops! Seems to have worked anyways. I didn’t even bother to sand again after priming since the first coat was so smooth. I then put on a thick coat of the grey paint in the fashion that Jenny from Little Green Notebook recommends. I really only ended up having to touch up a few small places instead of putting on a second coat. I suppose if I wanted it to be absolutely perfect I would have done a light sanding and given it another coat. After that I installed my C-03 Classic drop pull. It’s amazing how different the piece looks after paint and new jewelry! Whaddayathink?

Glad I knocked that one off the list. Next up before baby is finishing my office chair and closet projects and organizing the garage!